Digit.Photo & Imag. | Project 2: Digital Imaging Project 2
|| 04/06/24 – 25/06/24 (Week 9)
|| Liau Kah Man, 0339084
|| Digital & Photography Imaging
|| Project 2: Digital Imaging Exercise 2
Poster Design (30%) Design poster with provided theme for Digital Imaging. The images elements must be photo realistic, preferably photo taken by yourself.
Double Exposure (10%). Students use specific skillsets from photoshop to blend their portrait with layers of background images.
Follow the WEEK 7 Tutorial Demo (DOUBLE EXPOSURE)
Download the images here:
https://drive.google.com/drive/folders/1lDhDvSaro8tW7XCRa14nOqJO9bDRuqS6?usp=sharing
Step by step to create poster design:
1. Based on your research, develop a simple summary and make a simple tagline from it.
2. Create a simple typography design for the tagline.
3. Visualize the tagline into a poster design.
4. Focus on product photoshoot or image manipulation for the main subject.
Submission:
- With a statement/rationale with a maximum of 200 words.
- Capture screenshots to demonstrate a step by-step progression as to how the visuals are produced (at least 10 steps).
Marking Criteria:
- Evidence of in-depth research and visual analysis is visible.
- Multiple ideas have been explored with great care and deliberation.
- The design process showcases knowledge of typographic convention, methodology and production.
- The designs are extremely well crafted, consistent and technically sound.
- To develop student’s ability to construct a readable and legible font.
- To develop student’s ability to design a font with consistent characteristics premised on research and analysis.
Timeframe:
- Week 8 – Week 12 (Deadline on Week 13)(Due 1/7 Mon for Poster)
Slides 1.1.1 Lecture of Digital Photography and Imaging (DPI), Week 6 (04/06/2024).
Coloring = familiarize with layer blending mode
3-to-3 or 5-to-5
1. Paste your skin color reference. Marquee tool (M) to select > Copy paste
Figure 1.2.1 Screenshot of online tutorial, Week 6 (04/06/2024).
- Step 1. X.
- Step 2. X
- Soft Light vs Overlay. keeps the previous layer data
- 🔥
- 🔥 = New function/info/tips learnt!
2. EXERCISES: RECOLORING
X
2.1 RESEARCH
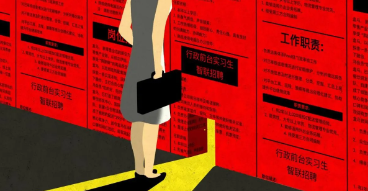
Figure 2.2.2 Reference, Week 9 (27/06/2024). Source: Artdesigna.com.
2.2 IDEATION

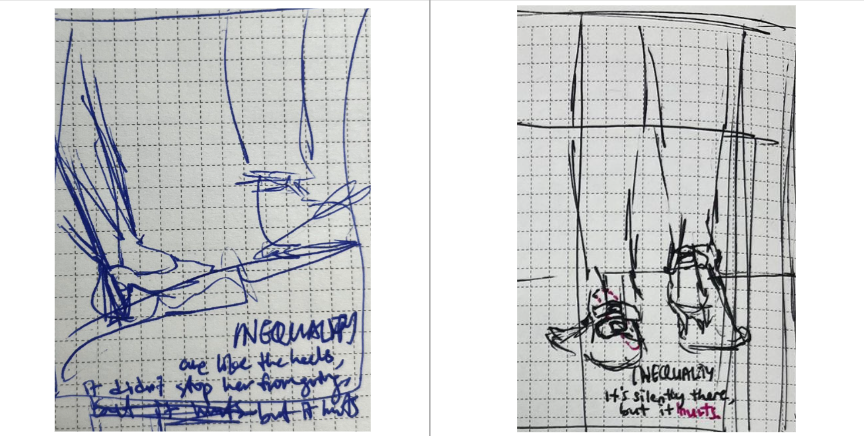

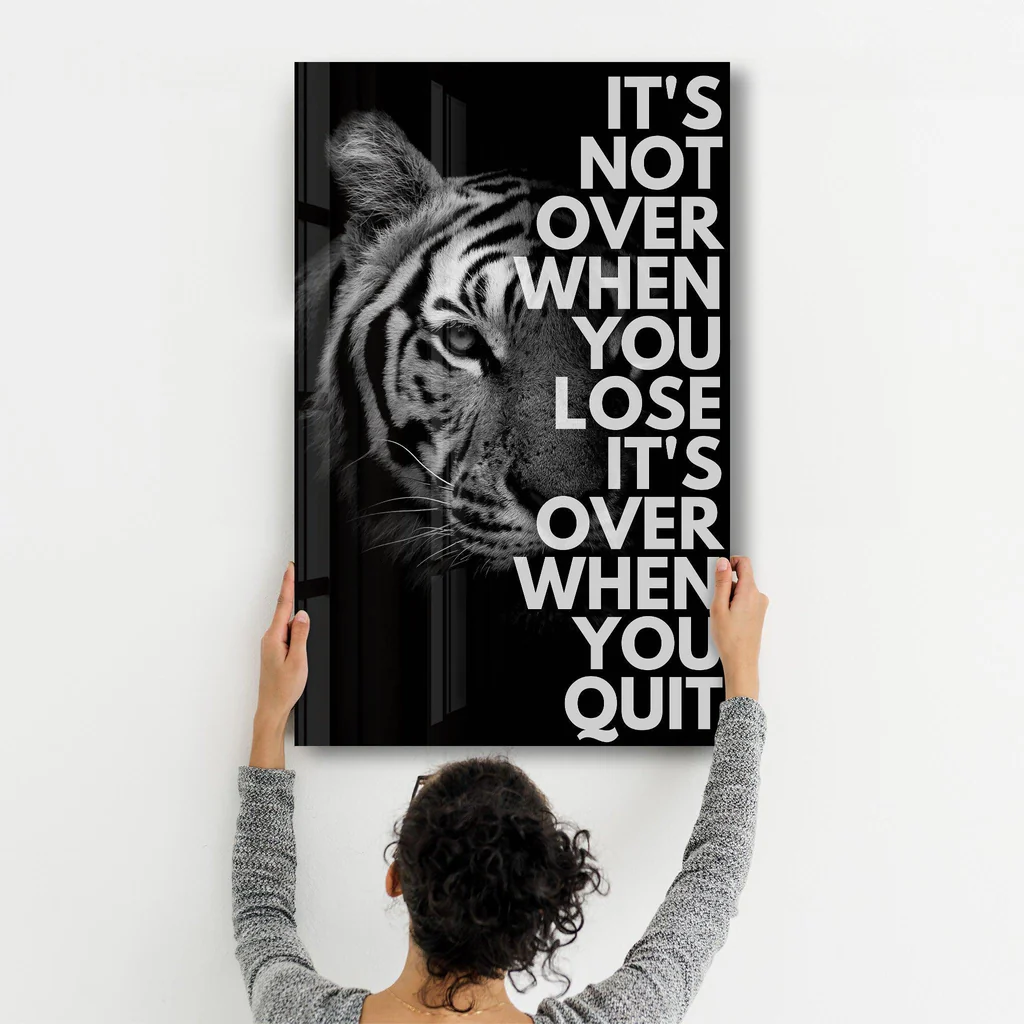
Figure 2.2.2 Reference, Week 9 (27/06/2024). Source: NB Top Fly


SUMMARY:
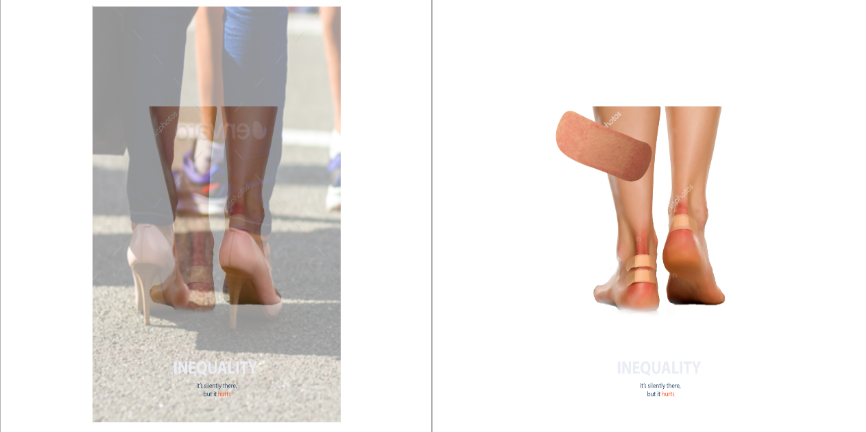
Details (three bandages): The multiple bandages help capturing the invisible yet persistent scars that many women endure in their daily lives. Two bandages and the removed bandage are arranged to form an inequality symbol (≠). This powerful visual metaphor represents the disparity and discrimination that women face.
Details (skin detail): One of the bandages is depicted as freshly removed, revealing a patch of skin beneath. This skin bears the marks of adhesive residue and slight redness, symbolizing the lingering impact of inequality.
Message: This artwork poignantly addresses the pervasive and often silent nature of gender inequality, much like the wounds caused by high heels, which are often unnoticed by others but deeply painful. The visual metaphor of bandages highlights the need for awareness and action to heal these societal wounds and strive for true equality.
2.3 FINAL OUTCOME

Comments
Post a Comment